手动升级

This procedure is compatible with any version greater or equal to 1.4. For an older version, ask for help on the forum.

Please do check Piwigo current Requirements. Especially if your Php / MySQL configuration is NOT sufficient, do not go further as the upgrade process will fail.
Backup your current tables
 3-5min
If you are using a version from the PhpWebGallery 1.7 family or later, you can use the DB Backup plugin. Previous releases users should have to backup their tables by other means, for example with phpMyAdmin.
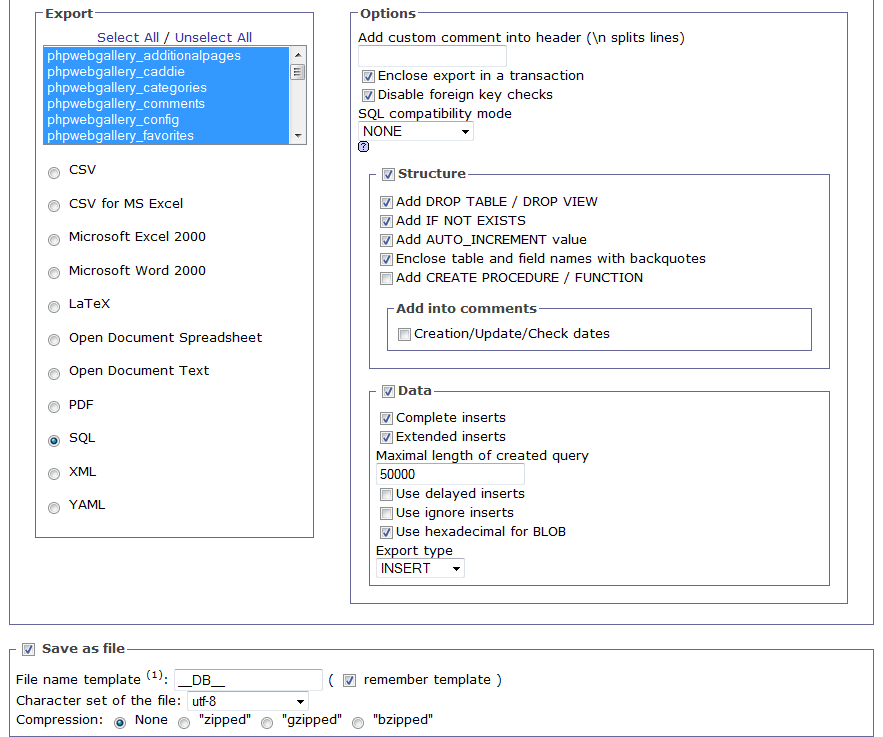
PhpMyAdmin recommended options.
In any case, be sure to check the backup is exhaustive and has successfully completed (the result is sometimes truncated due to server limits).
Our advice: unselect “Extended inserts” or reduce “Maximal length of created queries”.
If you're running Piwigo 2.1 or higher, skip this step.
Backup your customized files only or all files
5 min
Lock the gallery
1 min
With Piwigo 2.3 or earlier version: Configuration > General > Lock gallery. For Piwigo 2.4+: Tools > Maintenance.
From now on, non-administrator users of any gallery version should see something like: “The gallery is locked for maintenance. Please, come back later.”.
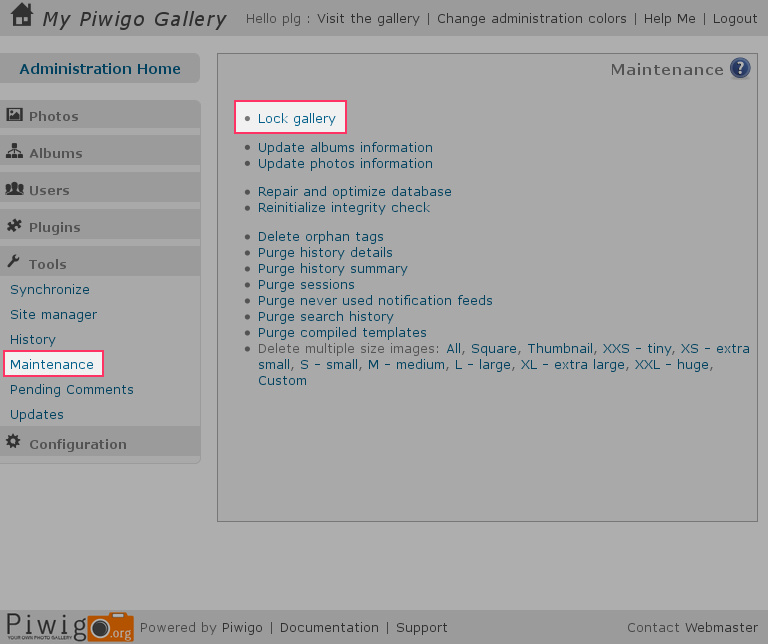
Lock gallery
Remove all files of your current Piwigo installation, with the following exceptions, do NOT delete these directories:
Use your standard FTP client to upload the new release, ie the content of the “piwigo” directory (extracted during step 1 and updated during step 3), into the previous Piwigo installation directory.
Check that your FTP client did not encounter any error.
Launching upgrade
2 min
In your web browser, open the “upgrade.php” script and follow the guide, http://example.com/photos/upgrade.php
To avoid any upgrade by another visitor you are invited to sign in
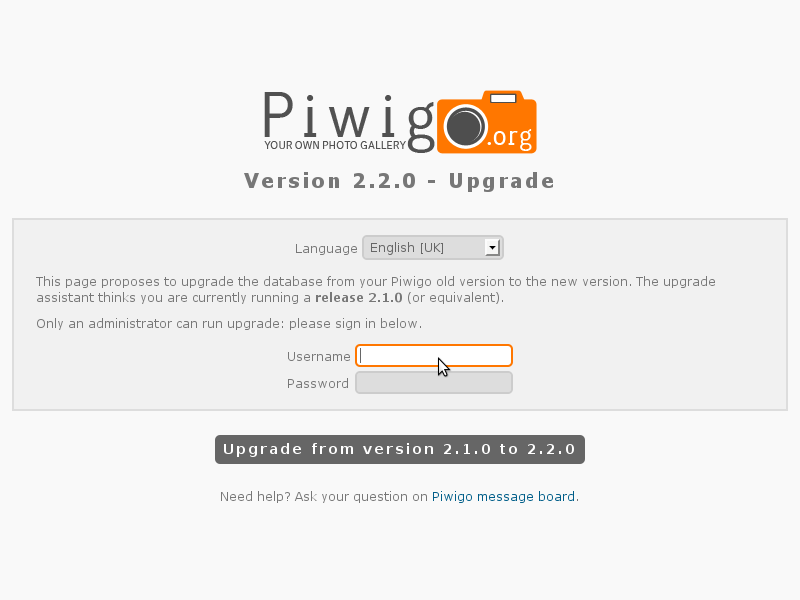
Starting upgrade page.
Your previous release is identified and you will get a summary of the upgrade operations;
Plugins active before the upgrade will be switched off to inactive status, as they could fail to work with the new release and need their own specific upgrade.
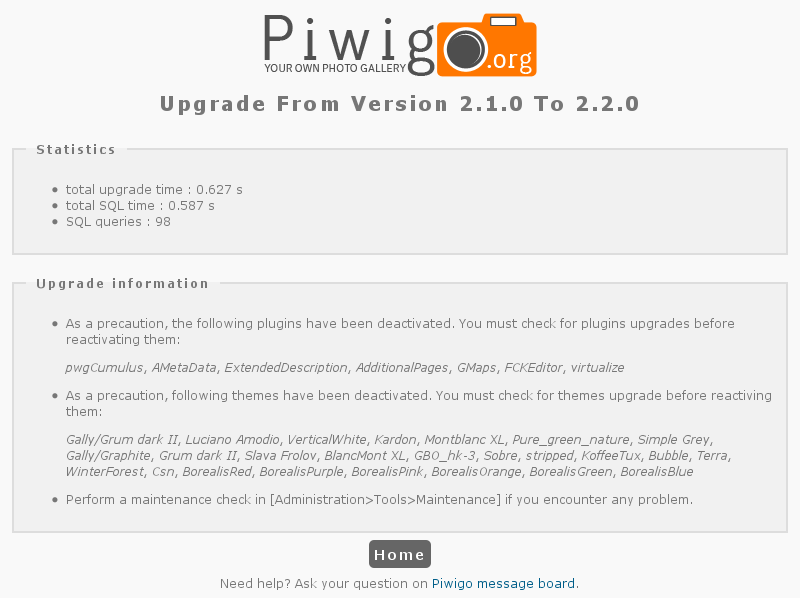
Upgrade memo page.
Your first controls could take time because you are not aware of all the changes
15-120 min
You will see a list of all your previous plugins; some of them have been fully integrated in the core (like Plugins Manager), others are now distributed (like LocalFiles Editor), but any desactivated plugin has been so for a good reason.
Try to find an upgrade first; the plugins tabsheets can help you.
For themes, keep an admin page opened in your browser in case you need to reverse any of your tests.
Don't forget that your members or visitors can have a specific selected theme which is not compatible with your new release. You'd probably better have to reset their theme in the Admin users page.
You begin to be confortable with our last release, do not forget to unlock your gallery to give access to visitors
1 min
Nothing
1 min
Nothing has to be removed after any upgrade. The “upgrade.php” itself is not to be removed. Remember that the “No upgrade required” message and the sign-on process are protecting your gallery.